ScratchIt
🇨🇳 简体中文
🇨🇳 简体中文
  • 👋🏻欢迎使用
  • ⚙️首次安装
  • 📄在线编辑器
  • 📖配置文件
    • 权限
    • 卡片
      • 如何创建一个新卡片
      • 图标位置
      • 动作
      • 冷却
      • 取消使用
    • 战利品
    • 卡片示例图片
  • 兼容的插件
    • WorldGuard
  • 兼容的Minecraft版本
  • 📒获得支持
    • 🐞反馈Bug
    • 📕获取帮助
  • 开发者
    • ☕️Java API
      • Basic API
      • 自定义卡片渲染器
Powered by GitBook
On this page
  • What is a CustomCardRenderer?
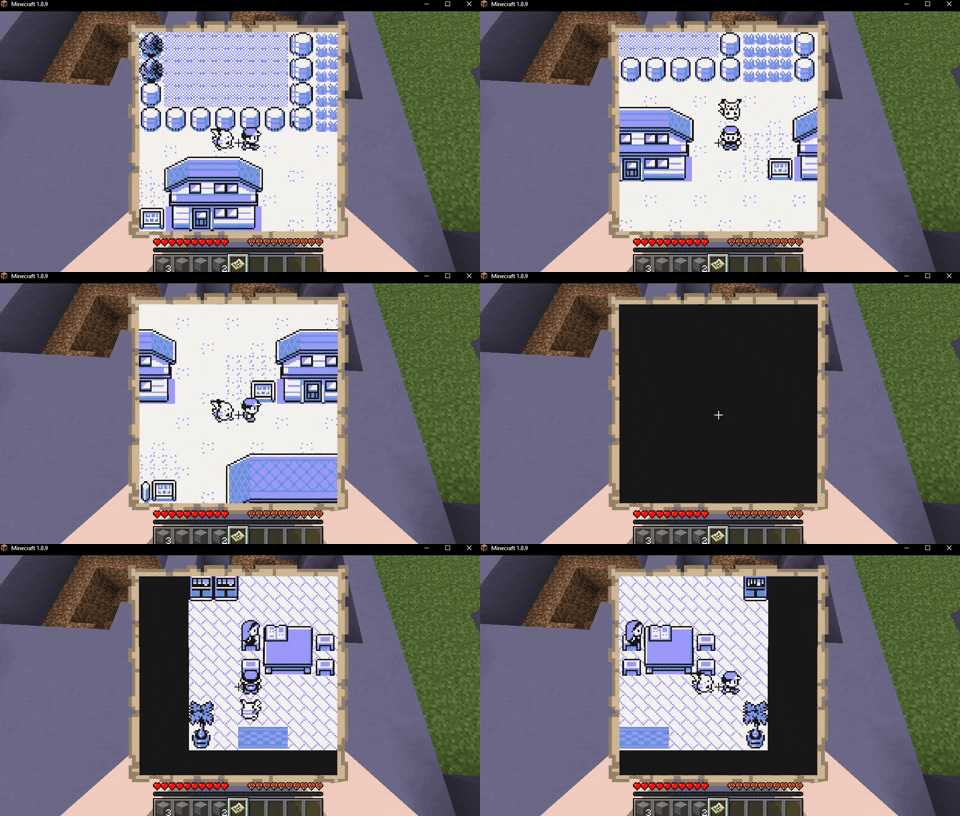
  • Showcase of what you can achieve
  • Example code

Was this helpful?

  1. 开发者
  2. ☕️Java API

自定义卡片渲染器

PreviousBasic API

Last updated 4 years ago

Was this helpful?

This is not for newbie developers.

⚠️Please don't ask for support if you don't know how to use BufferedImage and Color classes.

Keep in mind that you have to handle all the stuff manually and this is limited compared to Spigot API. The only advantage of using this is that it's not laggy like Spigot API as this is only packet based.

Use this class only if you really need to.

What is a CustomCardRenderer?

It's a class that can be used to create a custom renderer. You can use it to show custom images to the player. You will have to obtain pixel colors for example using a .

This class is meant to be used to do simple stuff not advanced layering. To do advanced layering, transparency etc you have to handle that on your own.

In the future I may extend this API to fill the gaps.

Showcase of what you can achieve

Example code

try
{
    BufferedImage img = ImageIO.read(new File(getDataFolder() + File.separator + "test.png"));

    CustomCardRenderer renderer = new CustomCardRenderer(player, false);
    renderer.start();

    for (int x = 0; x < 128; x++)
        for (int y = 0; y < 128; y++)
            renderer.setPixel(x, y, new Color(img.getRGB(x, y)));

    Bukkit.getScheduler().runTaskLater(this, () -> {
        renderer.stop();
    }, 20L * 5);
}
catch (IOException e)
{
    //error
}
BufferedImage